
1. Home
  2. Dental shade guide

SHADE GUIDE · CLASSICAL + 3D-MASTER

Name the shade the lab will mill.

Switch Classical or 3D-Master, assign cervical, body, and incisal when the case needs it, then keep that note on the Digital Rx — not in a chat screenshot.

On-screen colors are approximate hex previews for communication — not a spectrophotometer or a VITA printed tab. Confirm shade chairside and in the lab under controlled light. TrazaLab does not publish Classical ↔ 3D-Master conversion here.
GUIDESVITA Classical 16 · 3D-Master 29
JOBZone shade note → Digital Rx
TrazaLabShade instrument A2Ready
ZONE PREVIEW
ZONES
SELECTEDA2

#dfc69f

EDITORIAL VISUALIZATION

WHY ZONES

One shade code rarely describes the whole tooth.

Cervical chroma, body value, and incisal translucency are separate conversations with the laboratory. Mapping zones on the guide reduces remakes from “A2 everywhere” guesses.

SHADE COMMUNICATION

Why a single shade code is not enough for the laboratory.

A patient sits in the chair. The clinician holds a shade tab next to the tooth, decides quickly, and writes a short code on the prescription. That code is often the only shade information the laboratory receives. From it, the technician must recreate a natural tooth that is not one flat color: cervical chroma, body value, and incisal translucency all differ.

When the laboratory only receives a single Classical or 3D-Master code, the technician has to invent the gradient. Experience helps, but experience is not a measurement. Zone notes, photographs under controlled light, and a shade line that travels with the Digital Rx reduce the remake conversation that starts with “it looked different in the mouth.”

TrazaLab treats shade as a case field, not a chat screenshot. The free guide on this page names Classical or 3D-Master codes and optional cervical / body / incisal zones. On an order, remake-prevention shade evidence is captured with TrazaShade and shown on the same Digital Rx the laboratory opens.

VITA CLASSICAL

How Classical organizes sixteen shades — and where it compresses color.

VITA Classical has been the global chairside shorthand for decades. Its sixteen shades sit in four hue families: A (reddish-brown), B (reddish-yellow), C (grey), and D (reddish-grey), each stepping through chroma. Most clinicians can place a tooth in a hue family quickly, which is why Classical remains the default language between many clinics and laboratories.

The limitation is structural. Classical mixes value, chroma, and hue into one ladder. The perceptual step between A1 and A2 is not the same size as the step between A3 and A3.5. That compression is fine for fast communication on routine posterior crowns. It becomes fragile on anterior cases where a half-step of value or chroma decides whether the restoration disappears or announces itself.

Use Classical when the laboratory expects Classical tabs, when the case is routine, and when you will still send photographs. Do not treat Classical as a spectrophotometer reading. Confirm the physical tab under controlled light, then write the code — and the zone notes when the tooth is not flat — into the case.

VITA 3D-MASTER

Lightness first, then chroma, then hue — the 3D-Master order of work.

VITA 3D-Master separates the three dimensions clinicians already argue about: lightness (value groups), chroma (saturation), and hue (L yellowish, M medium, R reddish). You pick the value group the eye is most sensitive to, then refine chroma, then hue. That order matches how people actually see teeth better than hunting through a Classical hue row first.

This Theme guide lists the 3D-Master tabs published in TrazaLab’s live selector, including the 0M bleach-adjacent group and the L / M / R variants used for finer anterior work. On-screen hex values are approximate previews for communication. They are not a printed VITA tab and not a lab spectrophotometer.

Reach for 3D-Master when the laboratory works in 3D-Master, when the anterior case needs finer value control, or when Classical alone keeps producing “close but wrong” remakes. TrazaLab does not invent a Classical ↔ 3D-Master conversion table on this page. If the laboratory’s language is 3D-Master, select 3D-Master here and confirm the physical guide.

ZONE MAPPING

Cervical, body, and incisal are three conversations — not one code.

A natural tooth is not one shade. Near the gingiva, enamel is thinner and dentin shows through, so the cervical third often reads more chromatic and slightly darker. The body carries the shade most people mean when they say “A2.” The incisal third is more translucent, often cooler, and transmits light differently than the opaque body.

A single code forces the laboratory to guess that gradient. Zone mapping replaces the guess with a blueprint: cervical, body, and incisal can each carry a code when the case needs it. Layering, stain placement, and incisal effects then follow a written plan instead of a habit.

On this instrument, turn on zone mapping, pick the active zone, and assign Classical or 3D-Master codes from the grid. Keep the resulting note on the Digital Rx. Add TrazaShade photographs on the order when the restoration needs visual evidence — typed shade and photo evidence are different remake-prevention lanes on the same prescription.

LIGHT & PERCEPTION

Shade is light, surface, and observer — change one and the code shifts.

Perceived tooth color is not an intrinsic property of porcelain. It is the interaction of the tooth surface, the illuminating light, and the observer. Change the operatory light, the window, or how long you stare at the tab, and the “same” tooth can walk a half-step on the guide.

Clinical shade matching is usually taught around daylight-quality illumination: a color temperature near 5500K, a high color-rendering index, and enough intensity at the tooth surface to see chroma without washing value. Mixed sources — cool LED plus warm window fill — create metamerism that disappears when the patient walks into daylight.

This web guide cannot calibrate your monitor or your operatory. What it can do is force standardized language: Classical or 3D-Master codes, optional zones, and a path into the Digital Rx. The laboratory then works from the same vocabulary you confirmed chairside with a physical tab under controlled light.

SHADE PHOTOGRAPHY

A good shade photograph beats an orphaned code.

Codes name a family. Photographs show translucency, characterization, and the neighbors the restoration must disappear into. TrazaLab’s Spanish shade tool already taught a short chairside photo checklist; the same discipline belongs on every aesthetic case that leaves the clinic.

  • Use north window light or a corrected shade lamp — do not mix light sources.
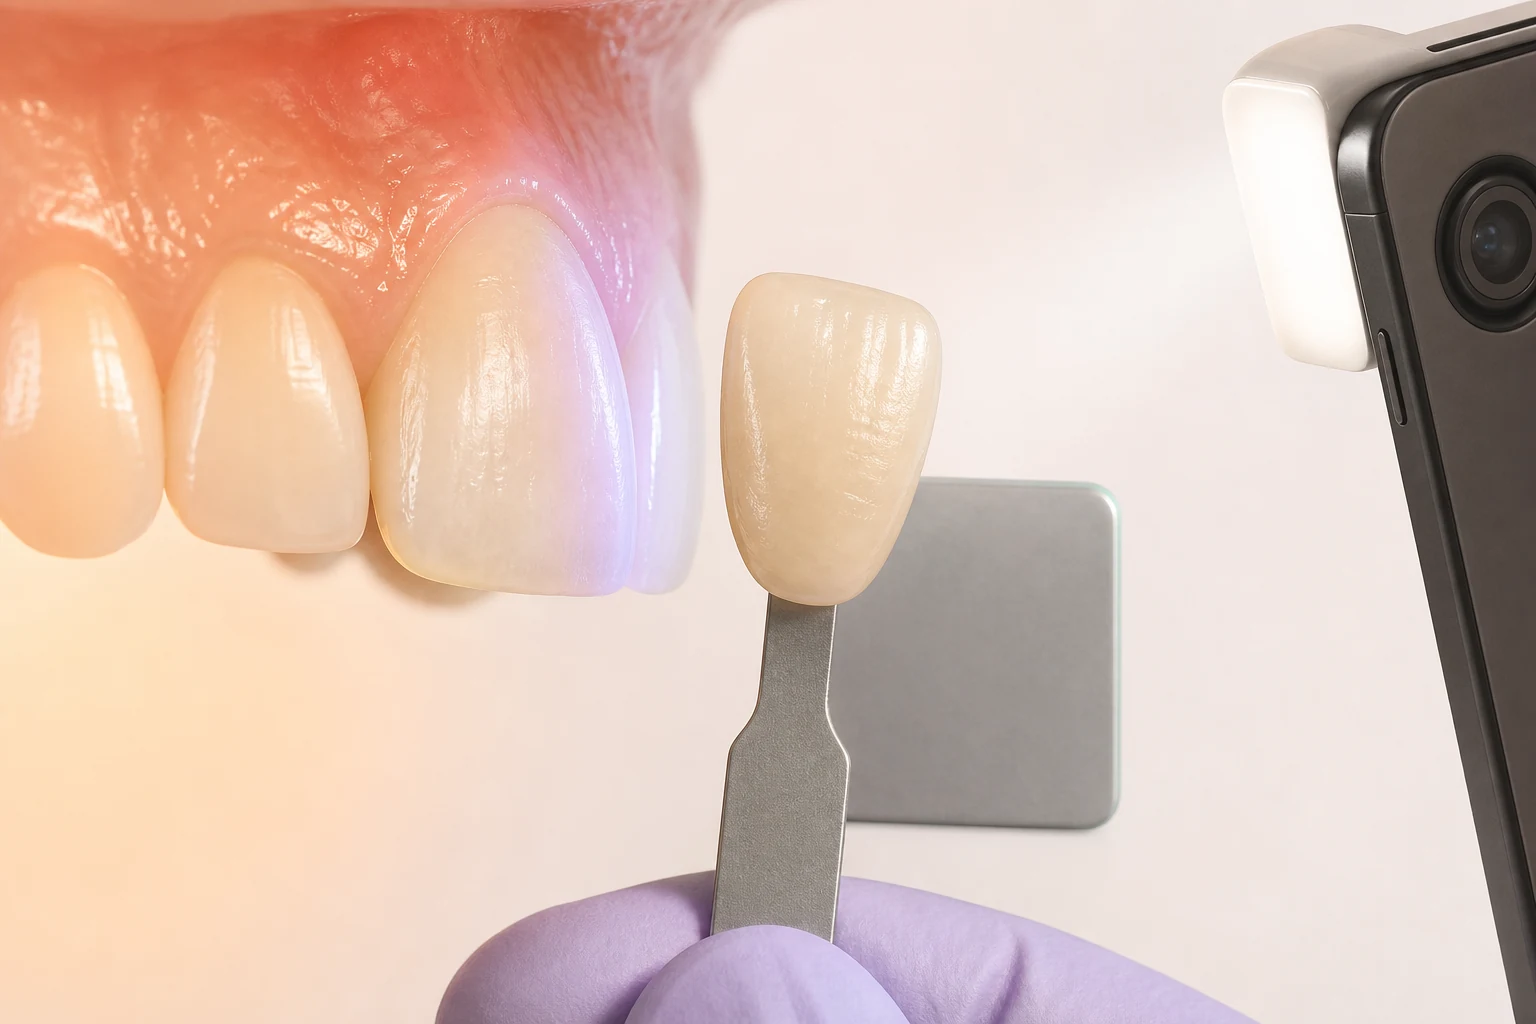
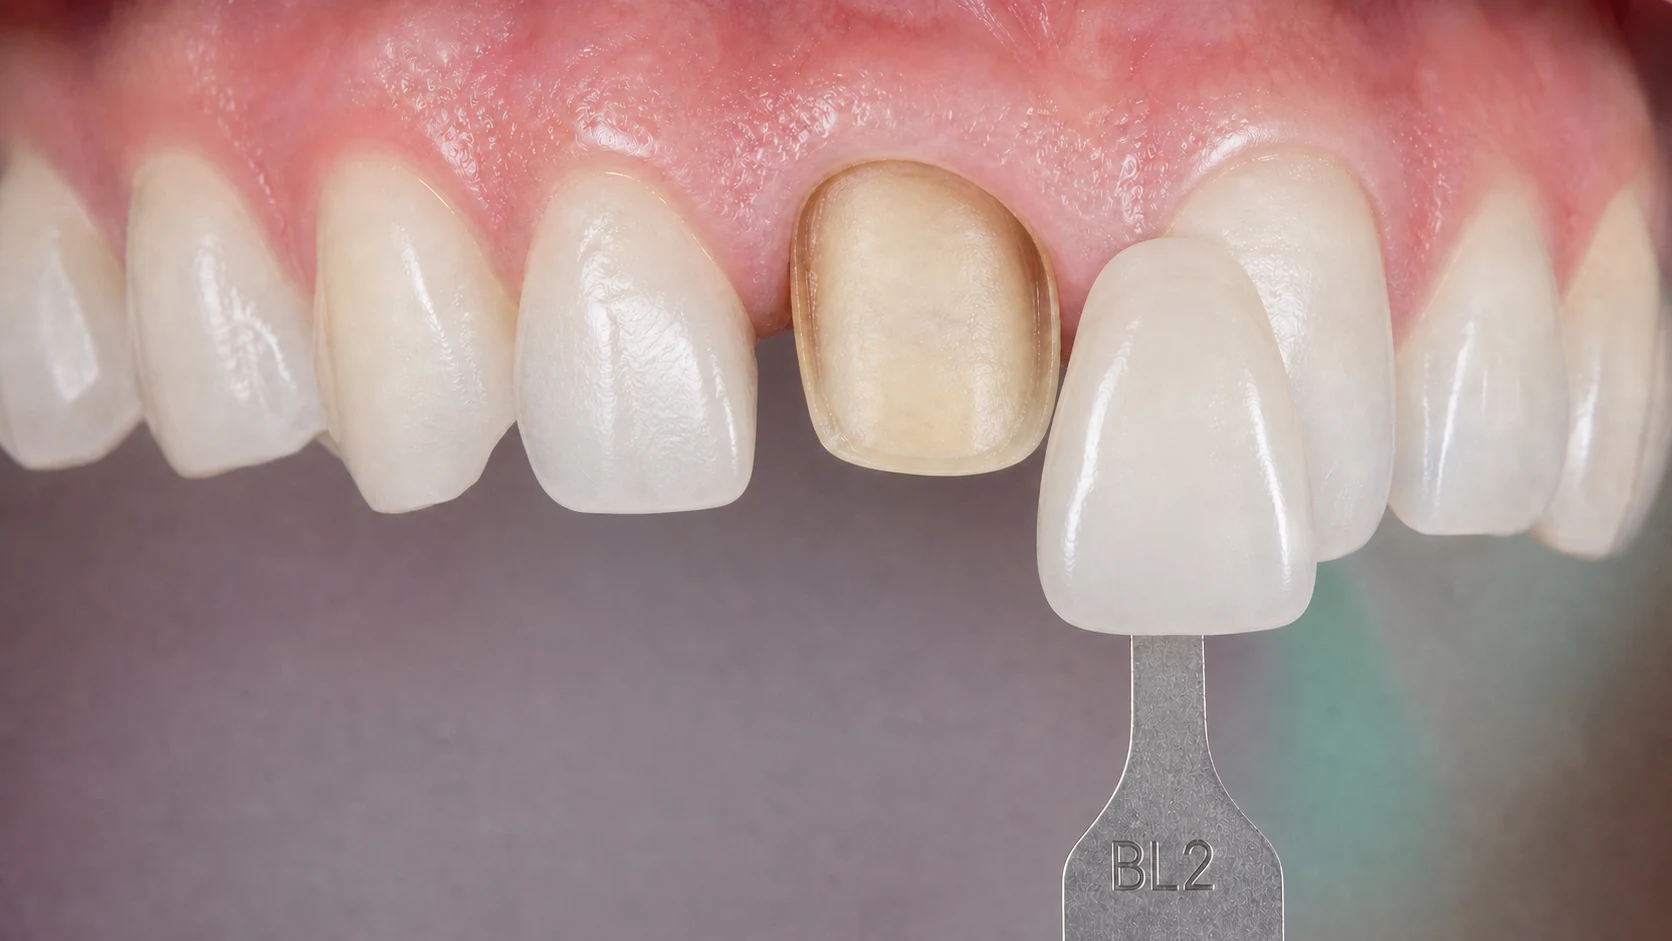
  • Keep the shade tab in the same plane and distance as the tooth; do not hold it far away.
  • Shoot before heavy isolation dehydrates enamel; dehydrated teeth read one to two steps lighter.
  • Capture one frame with the tab in view and one close-up for characterizations.
  • Avoid flash that builds specular highlights and fake value.
  • Use a standard photo mode — do not let filters invent chroma.
  • Remove bright clothing from the frame; saturated colors bias perception.
  • Look, decide, confirm — prolonged staring adapts the eye.

CHAIR SIDE PROTOCOL

A repeatable order of work before the code hits the Rx.

Start with value. The eye is more sensitive to lightness errors than to chroma or hue errors. In 3D-Master, that means locking the value group first. In Classical, compare tabs sorted by brightness when you can, not only by hue row.

Then refine chroma and hue against the neighbors and the stump if the preparation is already done. Decide whether the case needs one code or cervical / body / incisal notes. Write what you decided while the tooth is still hydrated and the light is still honest.

Finally, put the shade language where the laboratory will read it: the Digital Rx shade fields and, when the restoration warrants it, TrazaShade evidence on the order. TrazaChat can discuss the case; it is not the prescription.

MATERIAL CONTEXT

The same VITA code does not look the same in every ceramic.

A Classical A2 in porcelain-fused-to-metal does not present like A2 in high-translucency zirconia or lithium disilicate. Substrate opacity, fluorescence, and opalescence change how the same tab maps into the mouth under daylight and operatory light.

This free guide does not invent automatic material “corrections” or half-step recipes. What it does require is honesty on the Rx: name the shade system, the codes or zones, and the material the laboratory will mill or layer. If the case bridges different materials in the smile, say so in the clinical notes instead of hoping the technician guesses.

When remake risk is high — anterior single centrals, high-translucency monolithics next to natural enamel — pair the typed shade with photographs and, if your workflow uses it, a try-in or mock-up note. The laboratory packet should show empty fields as Not on Rx rather than hide the gap.

DIGITAL RX HANDOFF

Shade named here must still open as a field on the laboratory packet.

TrazaLab’s remake-prevention spine is one shared Clinical Rx. Case creation writes typed fields into that form. Order preparation fulfills photo and video evidence lanes. Shade is both: a typed note the laboratory can read as Not on Rx when blank, and a TrazaShade evidence lane when the restoration needs a photograph.

Use this page to decide Classical versus 3D-Master and to draft zone language. Then keep the decision on the case — Digital Rx, odontogram context, and remake-prevention tools — so clinic and laboratory argue from the same packet instead of from a forwarded image in a messaging app.

Send warnings still surface hard gaps before the case leaves the clinic. Empty shade fields are not “complete enough.” They are visible blanks the surgeon reviews and acknowledges.

COMMON FAILURES

Five shade habits that quietly buy remakes.

These failures rarely look dramatic on the prescription. They look like a short code that felt finished.

  • One code for a polychromatic anterior central with obvious cervical darkening.
  • Shade taken after rubber dam dehydration without noting the condition.
  • Classical written when the laboratory layers only in 3D-Master — without aligning languages.
  • Perfect tab match under mixed operatory light that fails in daylight.
  • Shade discussed only in TrazaChat while the Digital Rx shade row stays empty.

WHICH GUIDE WHEN

A practical rule — not a conversion table.

Use Classical for fast communication on routine cases when both clinic and laboratory already share Classical tabs and photographs will still travel with the case. Use 3D-Master when value precision matters more than habit, when the laboratory’s ceramic workflow is built on 3D-Master, or when Classical remakes keep clustering on “too bright” or “too grey.”

If the two parties speak different shade languages, align the language before milling — pick the system the laboratory will actually use for layering or staining. Do not rely on an unpublished crosswalk. TrazaLab omits Classical ↔ 3D-Master conversion on this hub until a cited manufacturer table is approved for publication.

CASE WORKFLOW

Shade language that survives the packet — not the chat thread.

Clinic and laboratory fail shade when they treat the guide as a private code and the photograph as optional. The useful workflow is boring on purpose: confirm light, confirm hydration, confirm the physical tab, write the system name, write the code or zones, photograph when the restoration is visible in the smile, then put every field on the Digital Rx before send.

Case creation in TrazaLab fills typed clinical fields into the shared Clinical Rx form. It does not replace TrazaShade capture. Order preparation is where remake-prevention photo rows are fulfilled. That split matters: this free guide helps you draft the typed language; the order tools capture the evidence the laboratory can still open weeks later.

If you only memorize one product rule from this page, memorize this: empty applicable shade fields show as Not on Rx on the laboratory packet, and hard send warnings can still stop a careless submit. Completeness theater — hiding blanks so the Rx looks finished — is how remakes get funded.

Surgeons coordinating multiple laboratories should still pick one shade language per case. Switching Classical and 3D-Master mid-thread without rewriting the Rx is how technicians mill yesterday’s assumption. Update the case record when the language changes.

For teaching clinics and multi-doctor groups, standardize the photo checklist and the zone vocabulary even if individual clinicians prefer different tabs. Shared language beats heroic individual matching that never lands on the packet.

VALUE FIRST

Fix lightness before you argue chroma.

Value errors are the ones patients notice first under social lighting. A restoration that is half a step too bright reads as opaque or chalky; half a step too dark reads as dead. Chroma and hue mistakes matter, but they often hide until value is right.

That is why 3D-Master’s value-first workflow is not marketing — it is a perceptual shortcut. Classical users can approximate the same discipline by comparing tabs for brightness before committing to a hue family, then confirming neighbors.

Stump shade, try-in paste, and provisional color all bias the final read. Note them when they exist. A bright stump under translucent ceramic will push the restoration lighter than the tab suggested in isolation.

Bleach shades and 0M-group tabs need explicit laboratory notes about whether the goal is match-to-bleach or return-toward-natural. Ambiguous bleach language is a common anterior remake trigger.

When matching a single central, measure both centrals and the laterals. Symmetry of value across the midline often matters more than perfect chroma identity.

HOW THE LAB READS IT

Not on Rx is a feature — blank is honest.

Read the laboratory Digital Rx the way a technician does: system name, tooth sites, shade codes, zone notes, material, and photographs. If any applicable row is blank, TrazaLab shows Not on Rx instead of inventing a default.

Technicians should not have to reverse-engineer intent from TrazaChat voice notes. Chat clarifies; the Rx commits. Keep shade decisions in the form fields that survive packet share and case reopen.

When a remake is truly shade-driven, write what failed — too high value, low chroma, wrong cervical, missing incisal halo — into the next Rx. Vague “color wrong” notes train nobody.

If the laboratory returns a try-in, treat the try-in shade conversation as a new decision that must update the case record before final milling. Verbal approvals that never touch the Rx are how version two remakes appear.

Multi-unit bridges need shade language for the whole span and for transition teeth. A perfect central with mismatched laterals still reads as a remake to the patient.

PHOTO EVIDENCE

Codes and photographs are different remake-prevention lanes.

Photographs are not a replacement for codes, and codes are not a replacement for photographs. Codes give the laboratory a shared vocabulary; photographs show characterizations, translucency maps, and the soft-tissue frame.

TrazaShade on the order is the remake-prevention lane for shade photographs. Completing that tool fulfills the photo evidence row on the Rx. Leaving it empty when the case needs visual evidence is a visible gap at send.

Face, ridge, and Shimbashi evidence lanes exist when removable or VDO workflows apply. They are separate from shade. Do not overload the shade row with unrelated photos.

Exporting a screenshot of this free guide is not the same as a case-bound shade record. Screenshots lose tooth numbers, system labels, and packet identity. Prefer fields on the Digital Rx.

If your clinic still uses paper shade maps, transcribe the same zone language into TrazaLab so the laboratory packet and the paper do not diverge.

CLINIC OPERATIONS

SOPs beat heroic matching.

Operatory SOPs beat talent. Put the shade lamp location, the photo checklist, and the Digital Rx fields into a one-page clinic card. New associates should not invent a private matching ritual every Monday.

Calibrate expectations with the laboratory: which system they stock tabs for, which ceramics they layer, and how they want bleach and stump notes written. Alignment is cheaper than remakes.

Time the shade appointment when the patient is not dehydrated from long treatment and when lipstick and clothing colors are controlled. Five minutes of setup prevents thirty minutes of remake diplomacy.

For high-stakes anteriors, schedule shade and photography as their own short visit instead of squeezing them into the end of a long prep appointment under fatigue lighting.

Track remakes that cite shade in your own lab invoices. Internal counts — not marketing percentages — tell you whether zone notes and TrazaShade evidence are actually changing outcomes.

NEIGHBORS & CONTEXT

Match the smile, not an isolated tab.

Shade tabs held in isolation lie. The restoration must disappear among neighbors that may already be restored, bleached, or stained. Read the arch, not only the preparation site.

Document which teeth frame the restoration and whether they are natural enamel, older ceramic, or composite. A perfect A2 next to a high-value bleach central still looks wrong to the patient.

When replacing a single central, photograph both centrals together with the tab. Midline value symmetry often decides acceptance more than chroma identity.

Gingival inflammation, lipstick, and clothing color bias the chairside read. Control the frame before you commit the code to the Digital Rx.

If the laboratory will see a stump or try-in later, leave room on the Rx to update shade after that visit. The first code is a start, not a religion.

METAMERISM

Two surfaces can match under one lamp and separate under another.

Metamerism is the clinical trap: two surfaces match under the operatory lamp and separate under daylight or the laboratory window. Write lighting notes when the match was borderline, and send photographs that include a physical tab in the frame.

Ideal shade-matching light is often described near 5500K with high color rendering and enough intensity at the tooth surface. Many operatories run warmer or lower-CRI lights that are fine for surgery and suboptimal for fine shade work.

TrazaLab cannot fix the physics of your monitor. What it can do is keep Classical or 3D-Master codes, zone notes, and TrazaShade photographs on the same Digital Rx so the laboratory works from a shared record instead of a remembered glance.

For critical anteriors, verify the physical tab under controlled light after you pick a code on this page. Screen hex values are communication aids, not official printed VITA tabs.

Train associates to remove lipstick, bright clothing, and intense operatory spots before the final read. Bias in the frame becomes bias in the ceramic.

STUMP & TRY-IN

Stump shade, try-in paste, and cement still move the final read.

High-translucency ceramics transmit stump color. A perfect body code on a dark stump can still seat warm or gray. Write stump shade or photograph the preparation when the material stack is translucent.

Try-in paste and definitive cement are not interchangeable. Document which paste matched and which cement will seat so the laboratory and clinic share the same last-mile plan.

Leave room on the case record to update shade after try-in when the protocol requires it. The first code is a start, not a religion.

When matching a new translucent unit to an older opaque neighbor, discuss whether value should step down or chroma should step up. That conversation belongs on the Rx, not only in TrazaChat.

This hub does not invent automatic half-step material corrections. It keeps the shade system and zone map clear so you and the laboratory can agree on ceramic strategy with eyes open.

CASE RECORD

Put the shade on the Rx the lab opens.

TrazaLab Digital Rx and remake-prevention shade evidence keep the same case thread — typed shade plus photo when the restoration needs it.

Keep the shade in the case
TrazaLabShade on Digital RxReady
SHADE ON DIGITAL RX
GUIDEVITA Classical
BODYA2
INCISALA1
CERVICALA3

On-screen colors are approximate hex previews for communication — not a spectrophotometer or a VITA printed tab. Confirm shade chairside and in the lab under controlled light. TrazaLab does not publish Classical ↔ 3D-Master conversion here.

FAQ

Shade communication, without guessing.

On-screen colors are approximate hex previews for communication — not a spectrophotometer or a VITA printed tab. Confirm shade chairside and in the lab under controlled light. TrazaLab does not publish Classical ↔ 3D-Master conversion here.

01Are on-screen colors official VITA printed tabs?+

No. Hex previews help communication on this page. Always confirm with a physical shade guide under controlled light before you commit the restoration.

02Can I convert Classical to 3D-Master here?+

No. TrazaLab does not invent a conversion table on this hub. Select the guide the laboratory will use, or publish a cited manufacturer cross-reference when you have one.

03How does this connect to TrazaShade?+

This hub is the typed shade and zone note. On an order, TrazaShade captures remake-prevention shade photographs that fulfill the photo evidence lane on the same Digital Rx.

04Should every crown get three zone codes?+

No. Use zones when the tooth shows a meaningful cervical–body–incisal difference or when the laboratory asks for layering notes. A flat posterior may only need a body code — still confirmed with a physical tab.

05What if clinic and lab use different shade systems?+

Align on one system for the case before milling. Prefer the laboratory’s working language for ceramic, and keep photographs with the packet. Do not invent a private conversion map.

06Does TrazaLab guarantee shade accuracy?+

No. TrazaLab is case-coordination software. Clinical shade decisions remain with the treating professionals. This page is a communication instrument and reference, not a diagnostic device.

07Where do empty shade fields show for the laboratory?+

On the laboratory Digital Rx packet as Not on Rx. Gaps can also surface as hard warnings at send that the surgeon must review before the case leaves the clinic.

NEXT

Shade named. Case still open.

Keep the shade on the Digital Rx, add remake-prevention evidence when the restoration needs it, and send one packet the laboratory can mill from.

Choose the right next step

Start with one case.

Create an account now or walk through a complete case before deciding. Both paths are available today.

Already using TrazaLab? Log in

Choose based on what you need

ACCOUNTStart nowCreate an account through the functioning TrazaLab signup journey.
TOURUnderstand before decidingFollow the complete self-guided case without registration or a sales conversation.
CASECompare it with your flowUse the tour as a guide and activate TrazaLab when the process fits your team.